The short version
Inspect first, identify preparation, define the right scope, complete the work carefully, then review coverage and key details before closing the project.
The complete sequence
Five stages with a decision at each handoff
The process is designed so material does not arrive before the attic is understood and conditions outside an ordinary insulation scope are not quietly buried.
Inspect
Record material, depth, coverage, access, baffles, roof-deck evidence, ducts and visible ceiling penetrations.
Identify preparation
Resolve conditions that should come first: roof repair, exhaust correction, specialist review, drying, removal or accessible air sealing.
Define scope
Set materials, areas, target depth, access protection, clearances and what is outside the insulation scope.
Complete work
Protect the home, maintain service routes and ventilation paths, and install material consistently across the intended area.
Final review
Check depth markers, hatch details, eaves, visible coverage and the work area before photographs and project notes are finalized.
1. Inspection and homeowner history
The visit begins with the concern: comfort, moisture, ageing material, a renovation, an energy assessment or a planned top-up. Share when the symptom occurs, which rooms are affected and any history of roofing, pests, fans, electrical work or additions. That context directs attention to the relevant attic zones.
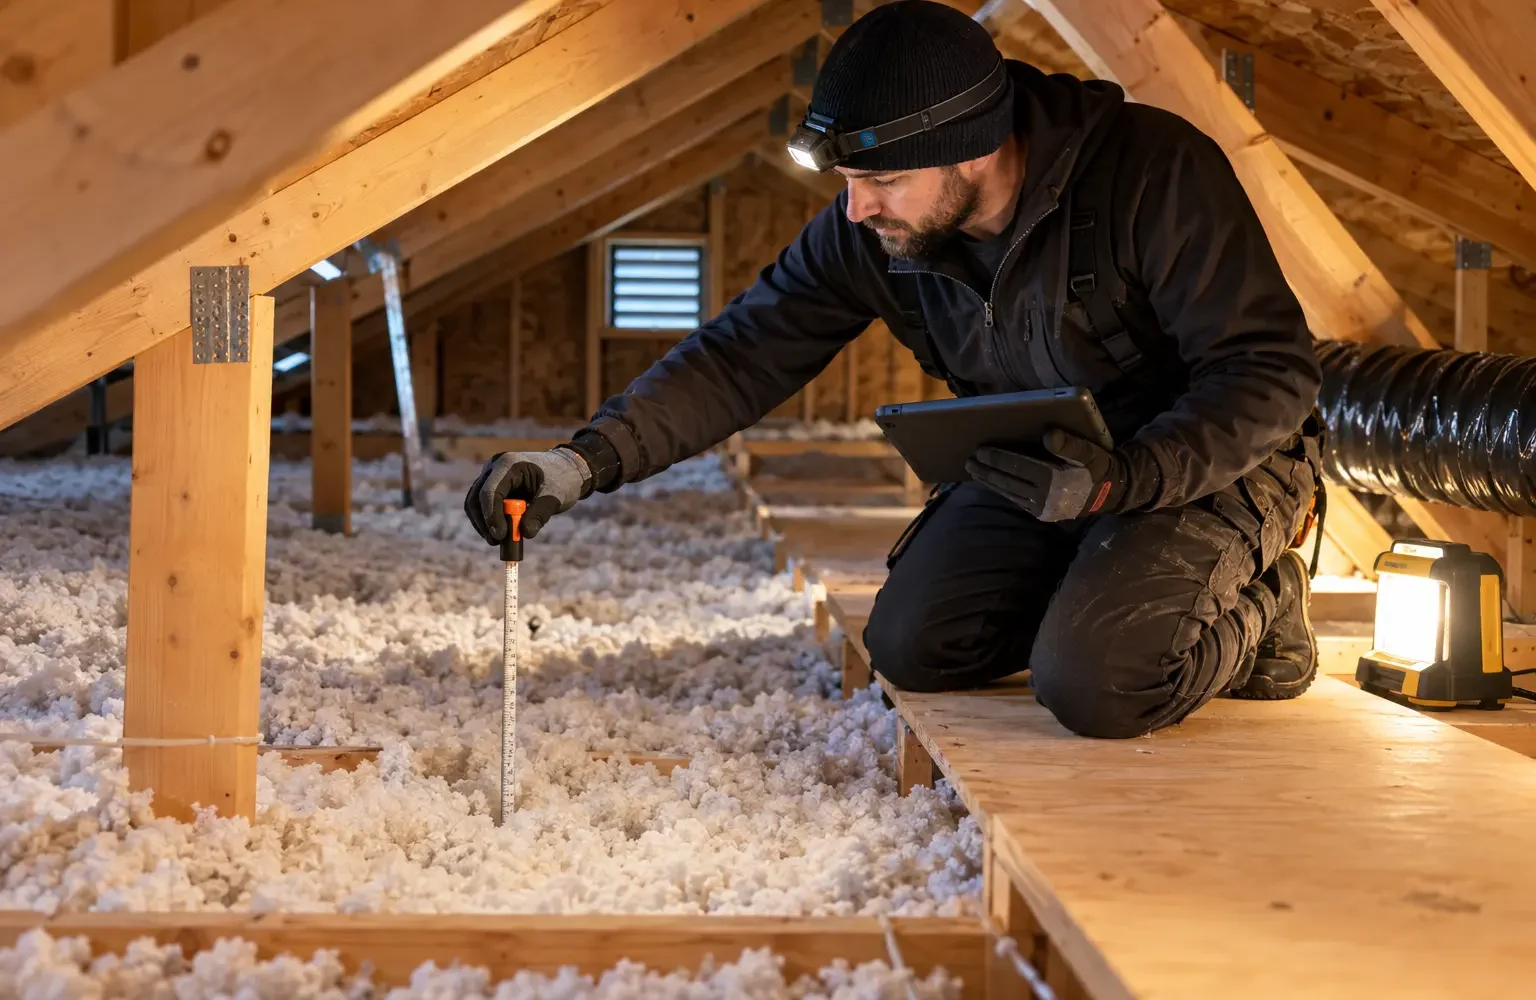
Inside the accessible attic, depths across multiple locations, material, coverage, eaves, hatch, roof-deck marks, exhaust ducts, service platforms and visible penetrations are recorded. Low areas and concealed cavities are identified as limitations. An inspection should distinguish a visible finding from an assumption about a finished slope or inaccessible eave.
2. Preparation before the final layer
The findings determine the sequence. Active water, unsafe electrical conditions, suspect material, significant contamination or structural evidence may pause ordinary work until a qualified specialist resolves the issue. Wet components need a repair and drying plan.
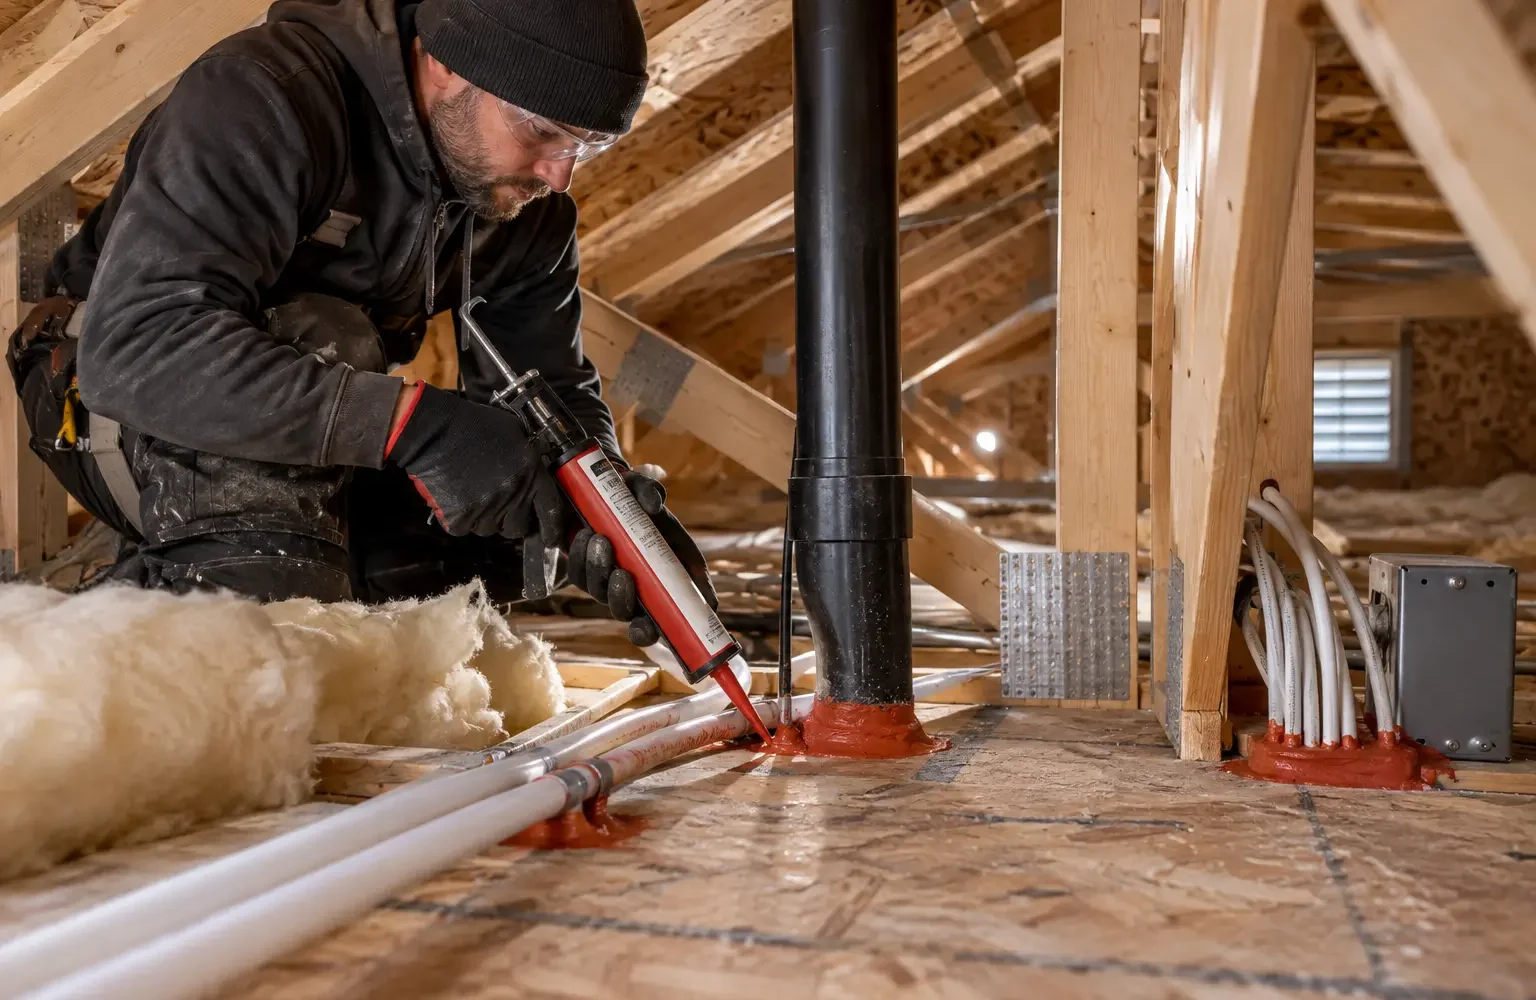
Where appropriate, accessible ceiling leakage is sealed, baffles and dams are installed or extended, exhaust ducts are corrected, service routes are addressed and localized unsuitable insulation is removed. These steps are written into the proposal rather than treated as an undefined allowance.
If a rebate or energy-assessment program is involved, its required sequence is confirmed before work begins. Program eligibility does not replace the physical suitability of the attic.
The written proposal
3. Scope details that make two estimates comparable
- Every included attic or insulation zone and any inaccessible area
- Existing material that will stay and material that will be removed
- Preparation: sealing, baffles, dams, hatch work and protected clearances
- New product, intended installed depth or assembly and net work area
- Interior protection, equipment route, dust control and cleanup
- Specialist boundaries, exclusions and the process for concealed conditions
- Final photographs, depth markers, product records or other handoff information
A clear proposal avoids vague phrases such as “bring attic up to code” without naming the target or condition. It also avoids guaranteeing outcomes that depend on windows, HVAC distribution, occupant behaviour or other parts of the home.
Installation day
4. Protect the home and work to the documented boundaries
Confirm scope
Review access, included zones, product and any change in site condition before setup.
Preserve details
Maintain eave paths, clearances, exhausts and required service access while completing the agreed preparation and insulation.
Clean and review
Remove debris, restore the access, review finished coverage and document any limitation or authorized change.

Before arrival
Make the attic access easy to reach
- Clear the floor beneath the attic hatch.
- Move fragile items away from the access route.
- Share any new roof leak, pest or renovation information.
- Have energy reports or rebate documents available.
- Plan for pets, children and household access while work is underway.
Never enter an attic without a safe platform and appropriate access. The crew should determine how the space will be inspected rather than asking a homeowner to walk on ceiling surfaces.
Completion
5. Review what can be seen before the work is handed over
Final review should cover multiple centre and perimeter zones, not one convenient depth marker. The hatch should close and seal, loose-fill should remain behind its dam, baffles and equipment access should be visible where intended, and work areas should be clean. Photographs are most useful when they show preparation as well as the finished blanket.
The handoff should record product information, areas completed, important exclusions and any observation that needs monitoring or another trade. A project can be complete even when an inaccessible concealed cavity remains outside the scope—as long as that limit was clearly communicated.
A clear scope includes its limits
Not every part of an attic can be reached, and insulation work is not a substitute for roofing, electrical, structural, hazardous-material, mould, pest or HVAC services. Stating these boundaries before work begins protects the homeowner and the assembly.